

Desktop RFID reader user guide (RD-W-CFN2-302501)
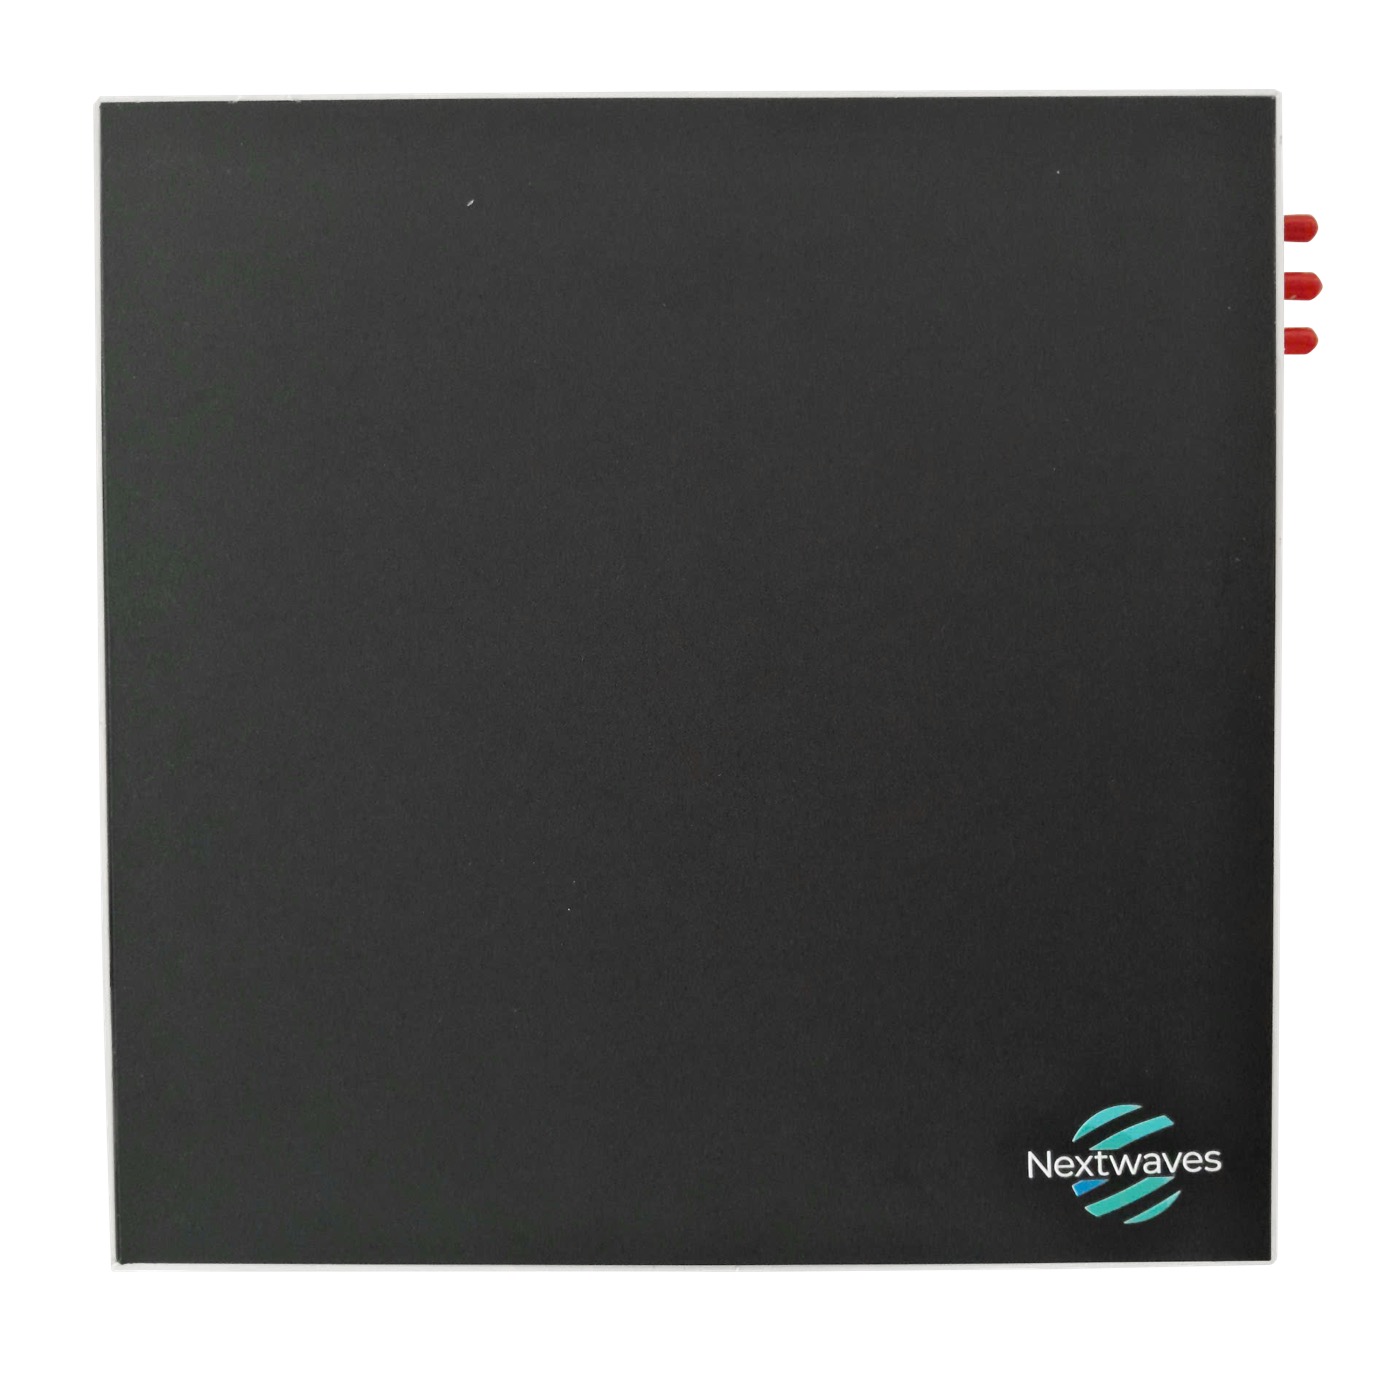
RD-W-CFN2-302501 is a desktop UHF RFID reader with a built-in dual near-field antenna. Its compact design and focused read zone fit retail checkout counters, inventory management, asset tracking, event management, and logistics. The device identifies multiple EPC Class 1 Gen 2 tags at once in its read zone and connects to a host computer over USB Type-C.
Read this page carefully before installing or operating the product.
Safety during installation and operation
- Use only a stable 12 VDC power adapter matched to the reader and its 5.5 × 2.1 mm DC jack.
- Do not open, drill, bend, or modify the enclosure. Only authorized personnel may service the internals.
- Disconnect power before cleaning, moving, or inspecting the product.
- Do not operate the reader if the enclosure, power cable, USB cable, or connectors are damaged.
- Keep liquids, conductive debris, or metal tools away from the connectors and read surface.
- Install the reader on a stable, flat, dry surface with enough clearance for the USB and DC cables.
- Do not place heavy objects on the read surface or expose the enclosure to strong impacts.
RF power note. Transmit power is configurable. Use the lowest power that still reads target tags reliably; excessive power can widen the read zone and cause unwanted detection of nearby tags. The allowed frequency band and RF power depend on the country or region of use, so configure the reader per local regulations.
Intended use and package contents
The reader is designed to read and write UHF RFID at a short, controlled range on a workbench or checkout counter:
- RFID checkout counters for pharmacies, convenience stores, fashion retail, and similar formats.
- Inventory checks and stocktaking.
- Asset identification and product registration.
- Reading and writing tag EPCs.
- Packaging checks, shipping, and logistics operations.
| # | Item | Quantity |
|---|---|---|
| 1 | Desktop RFID reader RD-W-CFN2-302501 | 1 |
| 2 | 12 VDC power adapter | 1 |
| 3 | USB Type-C data cable | 1 |
| 4 | User guide / quick start guide | 1 |
Package contents can vary by sales configuration; verify all items right after unboxing.
Key features
- Built-in dual near-field antenna with an accurate, focused read zone.
- Supports EPC Class 1 Gen 2 / ISO/IEC 18000-6C tags.
- 902 to 928 MHz operating frequency.
- RF transmit power up to 30 dBm, adjustable in 1 dBm steps.
- USB Type-C connection to the host computer.
- LED indicators for power and tag detection status.
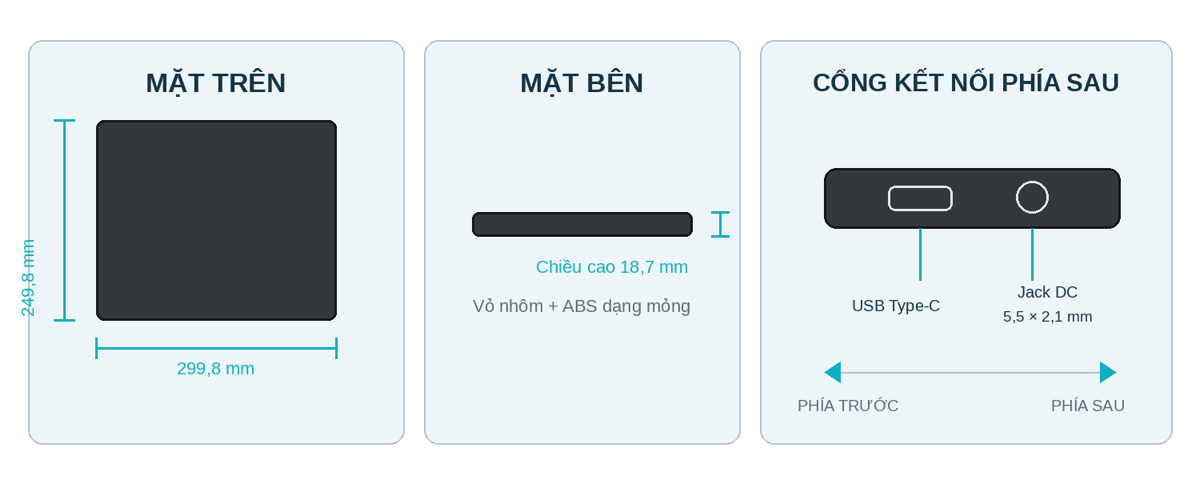
- Thin aluminum and ABS enclosure, suited to a desktop footprint.
Interfaces and indicator lights
| Interface | Function | How to use |
|---|---|---|
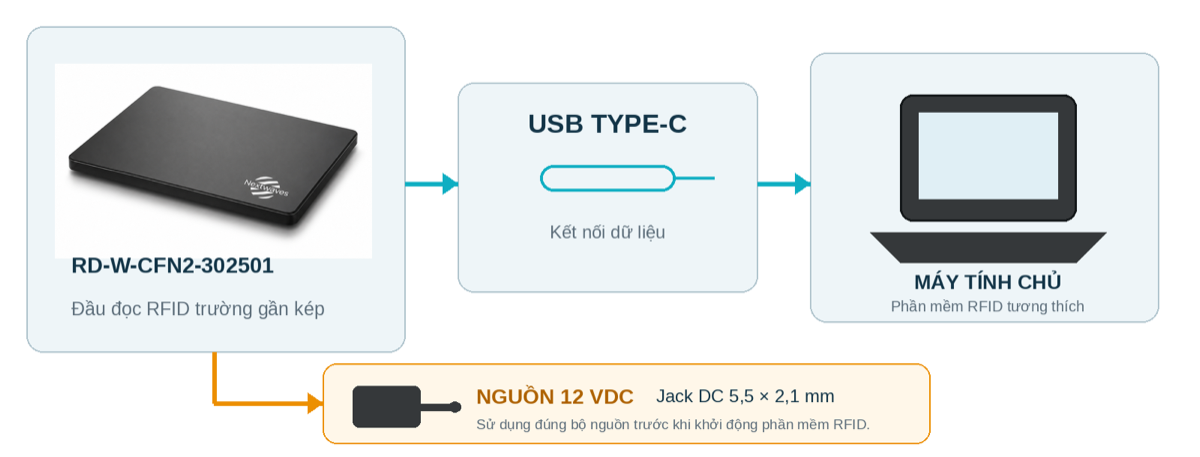
| USB Type-C | Data transfer with the host computer | Connect with the included USB cable or a compatible cable |
| DC 5.5 × 2.1 mm | 12 VDC power input | Connect a matching 12 VDC power adapter before starting the RFID software |
| LED state | Meaning |
|---|---|
| Power LED, solid | Reader is powered |
| Tag detection LED, blinking | Detecting or inventorying one or more RFID tags |
Actual LED color depends on the product configuration; per the datasheet, the power LED is solid and the tag detection LED blinks.
Installation and connection
Placement
- Place the reader horizontally on a flat, rigid, non-slip surface.
- Do not leave unnecessary RFID tags on the read surface.
- Do not place the reader directly on a large metal table unless you have verified RF performance for that installation.
- Keep the reader away from high-power UHF RFID transmitters, large switching loads, and other potential interference sources.
- Leave enough clearance behind the reader so the USB and DC cables do not kink or take mechanical strain.
Connection steps
- Place the reader at its intended operating location.
- Connect the USB Type-C cable between the reader and the host computer.
- Connect the 12 VDC power adapter to the DC jack.
- Plug the power adapter into mains power and confirm the power LED is solid.
- Wait for the host operating system to detect the USB device.
- Install the driver or supported software package if the system requires it.
- Open the RFID software, then select the reader or matching communication port.
Warning: do not connect the power adapter until you have confirmed the correct voltage, polarity, and connector type. An incorrect power source can permanently damage the reader.
Basic operation
Reading RFID tags
- Power the reader and establish the USB connection.
- Open supported RFID software.
- Select Inventory or Read mode.
- Place the RFID tag on the read surface, near the center of the reader.
- Start inventory and confirm the EPC shown in the software.
- Add more tags gradually to test multi-tag read performance.
- Stop inventory before unplugging the USB cable or removing power.
Writing an EPC
- Place only the target tag on the read surface.
- Read the tag first and confirm the EPC shown belongs to the correct product.
- Open the Write or Encode function in the supported software.
- Enter the EPC data to write and run the write command.
- Read the tag again and verify the entire EPC value.
- Only remove the tag after confirming a successful write.
Warning: when writing an EPC, remove every non-target tag from the read zone. Writing to the wrong tag can create duplicate or incorrect identifiers.
Adjusting RF power. The reader supports RF transmit power adjustment in 1 dBm steps, up to 30 dBm:
- Start at a low power level.
- Place the target tag at the real operating position.
- Increase power step by step until the tag is detected reliably.
- Check tags near the boundary of the intended read zone.
- Reduce power if unrelated tags outside the target zone are detected.
Near-field read zone
The built-in near-field antenna concentrates RF energy close to the reader surface. The usable read zone depends on tag design and orientation, product material, distance between tags, RF power, and nearby conductive objects. The RF field is not perfectly uniform across the surface, so verify the application with real tags and products.
Recommended tag placement:
- Place tags flat and close to the reader surface.
- Do not fold, crease, or sharply bend the tag antenna.
- Test multiple tag orientations, since coupling depends on antenna shape.
- Spread multiple tags across the read zone instead of stacking them into a thick pile.
- Use on-metal RFID tags for metal products, and specialized tags for liquids or high-loss materials.
- Keep large metal objects away from the read surface unless they are part of a verified application configuration.
Troubleshooting
| Symptom | Possible cause | Recommended action |
|---|---|---|
| Power LED not lit | No power input, a loose connector, or an unsuitable power adapter | Check the outlet, the 12 VDC power adapter, the DC connector, and cable condition |
| Computer does not detect the reader | Faulty USB cable, driver not installed, or unsuitable USB port | Reconnect the cable, try another USB port, use a data-capable cable, and install the supported driver |
| No tags detected | Inventory not started, RF power too low, incompatible tag, or wrong frequency region | Start inventory, confirm EPC Class 1 Gen 2 compatibility, check the frequency region, and increase power gradually |
| Unstable tag reads | Poor tag orientation, damaged tag, material loss, or interference | Rotate or reposition the tag, try a known-good tag, separate tags, and move interference sources away |
| Unintentional reads of nearby tags | RF power too high, or unrelated tags too close | Reduce RF power and move or shield unrelated tags away from the active zone |
| EPC write failure | Wrong memory bank, locked tag, invalid data length, or multiple tags in the read zone | Leave only one target tag, check the EPC format and access password, then retry |
| Software loses connection | USB cable moved, power interrupted, or communication port changed | Stop operation, reconnect power and USB, select the correct device or port, then restart the application |
Warning: if the enclosure feels unusually hot, produces an odor, or shows physical damage, disconnect power immediately and stop using the product.
Maintenance and storage
- Stop RFID operation and disconnect both the DC and USB cables.
- Wipe the enclosure with a soft, dry cloth; a slightly damp cloth can remove light stains.
- Do not spray liquid directly onto the reader, and do not use abrasives, acetone, gasoline, or strong solvents.
- Let the reader dry completely before reconnecting power.
Periodically check the DC and USB connectors for looseness or contamination, check the power adapter and cables for cuts or exposed conductors, and run a read test with a reference tag after any move, maintenance, or software update.
Store the reader in a clean, dry environment between -30 °C and +60 °C, away from condensation, vibration, direct sunlight, corrosive chemicals, and mechanical impact.
Technical support
When requesting support, provide the product model, serial number, software version, operating system, RFID tag type, configured RF power, and a description of the installation environment.
contact@nextwaves.industries
Full technical specifications are on the Desktop reader specifications page.