

Manage RFID
A barcode gives a whole product type one shared code; RFID gives every single item its own code, called an EPC. And a reader does not need to see the tag: hundreds of items in a closed box scan in seconds. Those two facts unlock three things barcodes cannot do: counting an entire warehouse in one session, tracing the history of one specific shirt, and a security gate that sounds when an unpaid item walks out.
In return, RFID takes investment: a tag on every item, readers at the scanning points, and a messaging line between readers and the software. This page covers daily operation; a technical team wiring readers into its own software should read the RFID integration reference.
What an RFID setup consists of
Readers do not call the application directly. Each tag read travels through a relay called an MQTT broker, set up by the technical team at installation, see Settings and integrations. When that relay stops, every scanning screen goes quiet at once, which makes it suspect number one whenever RFID "dies everywhere".
The screens that use a reader: Stock In with auto-scan, the Tags menu group (inspection, location mapping, removal), the sales counter, and stock count sessions.
The life of a tag
The first two steps get mixed up constantly, and this is the most important point on the page: registering and attaching are different things. The RFID Import feature on Tags → Tag List only registers EPC codes with the system; it attaches no product and creates no stock. The EPC-to-product link is created only on a stock-in entry, never spontaneously from a scan. That rule is why a stray tag drifting into the read zone can never turn itself into inventory.
Connect a reader
Go to Settings → RFID Readers.
Create or open a reader; check its name, status, and installed location.
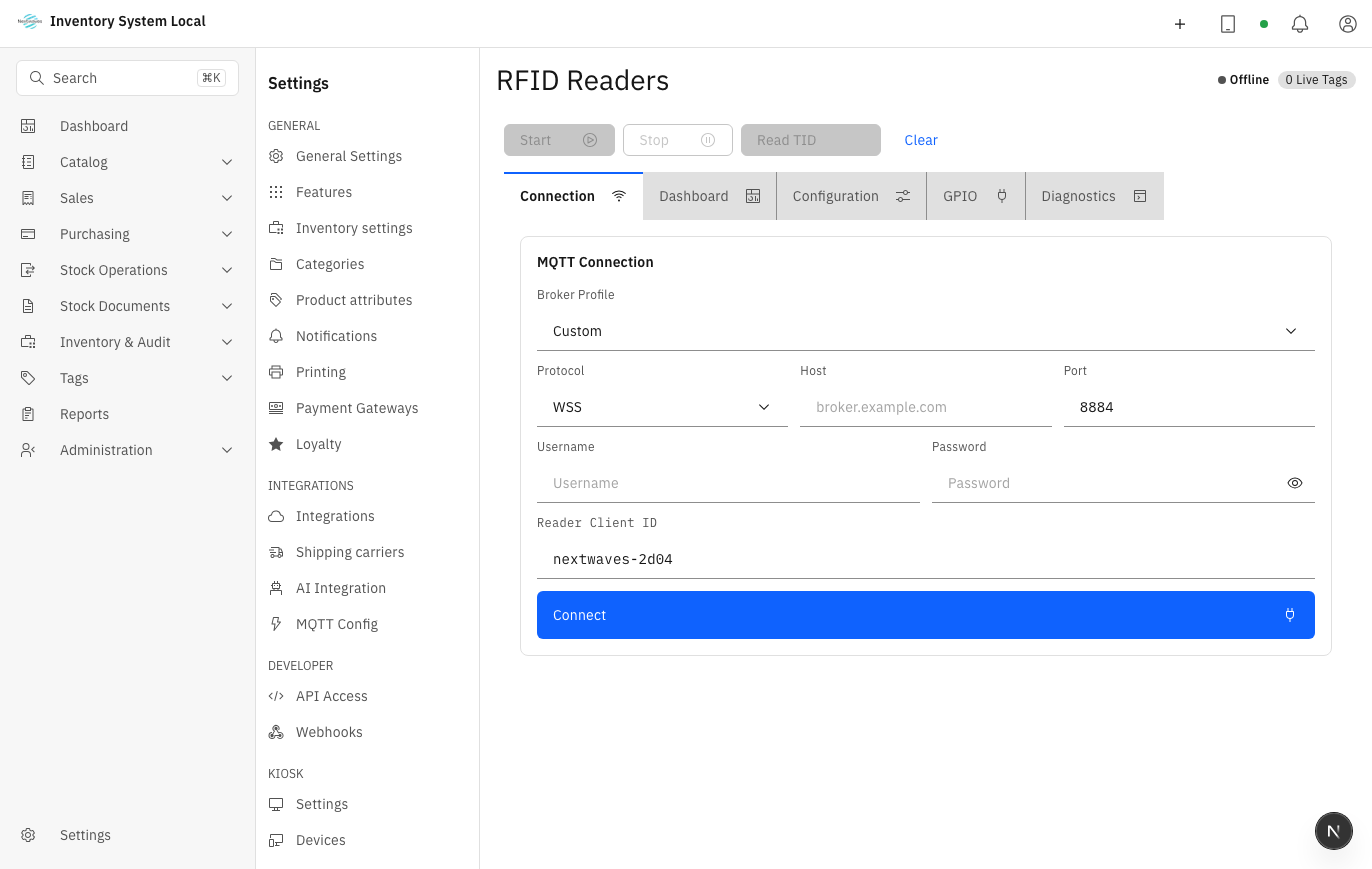
Test-read a known tag at the real installation spot, not on your desk before carrying the reader out.
Start power low and raise it only until the read zone covers what it must. More power means a wider zone, and a wider zone means catching the neighboring shelf's tags by mistake.
If the reader receives no scans at all, check the MQTT broker before touching power.
Operational guidance
Keep loose tags and unrelated goods out of the read zone. Metal, liquids, folded tags, and tags stacked on top of each other all make reads flaky.
Attach tags to products
Attachment happens during receiving, on the stock-in entry; the full procedure is in Purchase and receive:
- The product or variant must exist first, see Catalog and warehouses.
- Go to Stock Operations → Stock In and select the exact product or variant on the line.
- Turn on Auto scan RFID and bring a uniform batch of goods into the read zone. Every EPC read becomes one unit of stock.
- Review the EPC list: remove strange or duplicate codes before confirming. Readers pick up the neighboring pallet's tags too, so switch auto-scan off before moving to a different product.
- Complete the entry. From this moment, each EPC is bound to one specific item and follows it through every operation.
Inspect a tag
When something about a tag seems off, open this screen first:
Go to Tags → Tag Inspect, then scan or type the EPC into the lookup box.
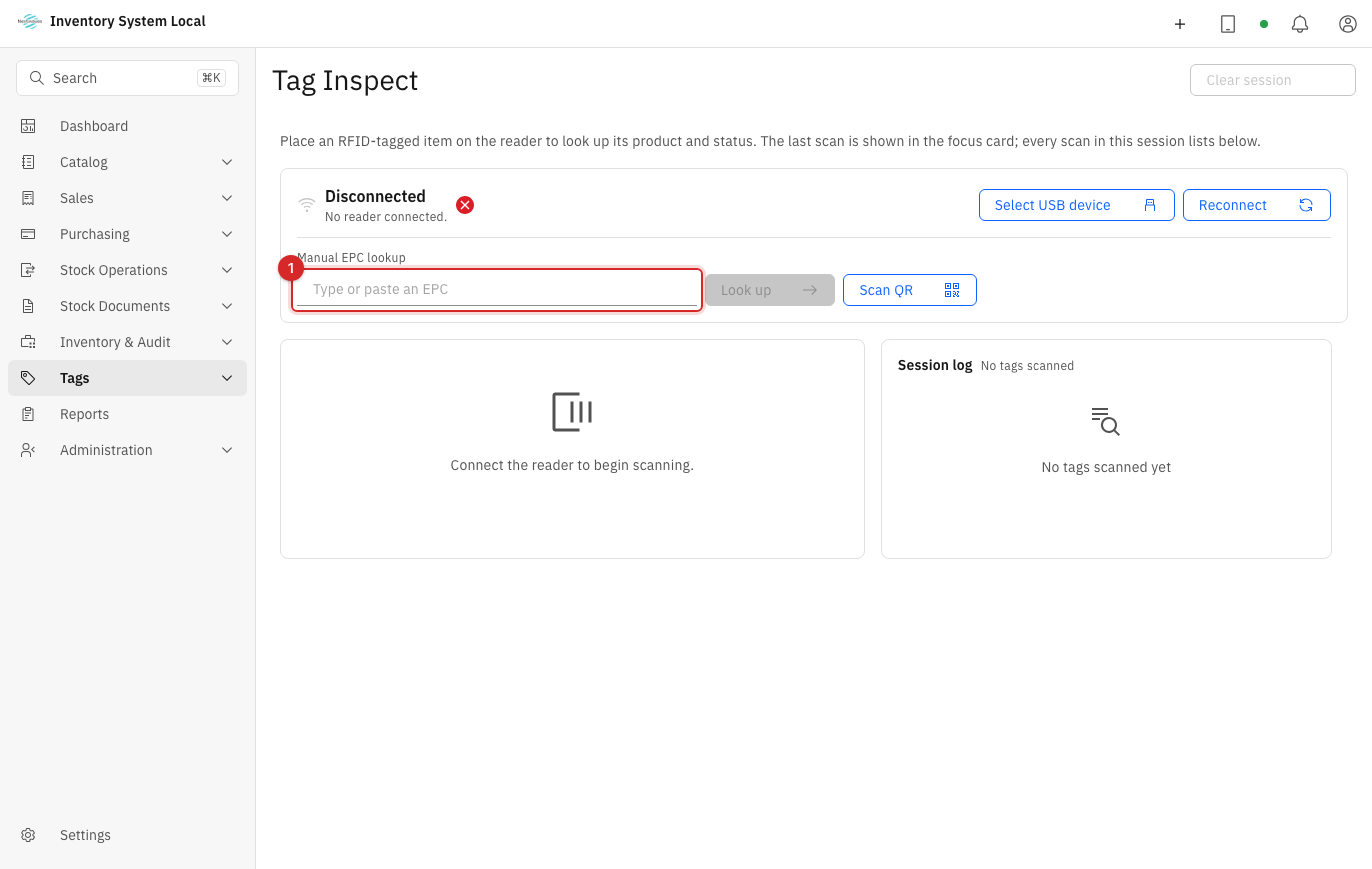
The screen returns the attached product, status, location, the full movement history, and every pass through a security gate. That is enough to answer what this item is, where it is, and where it has been.
Map tags to locations
Locations are identified by location tags fixed to each bin, not picked from a selector on screen. Create tags of the Location type in Tags → Tag List first and stick one on every bin.
Go to Tags → Map locations and press Connect reader.
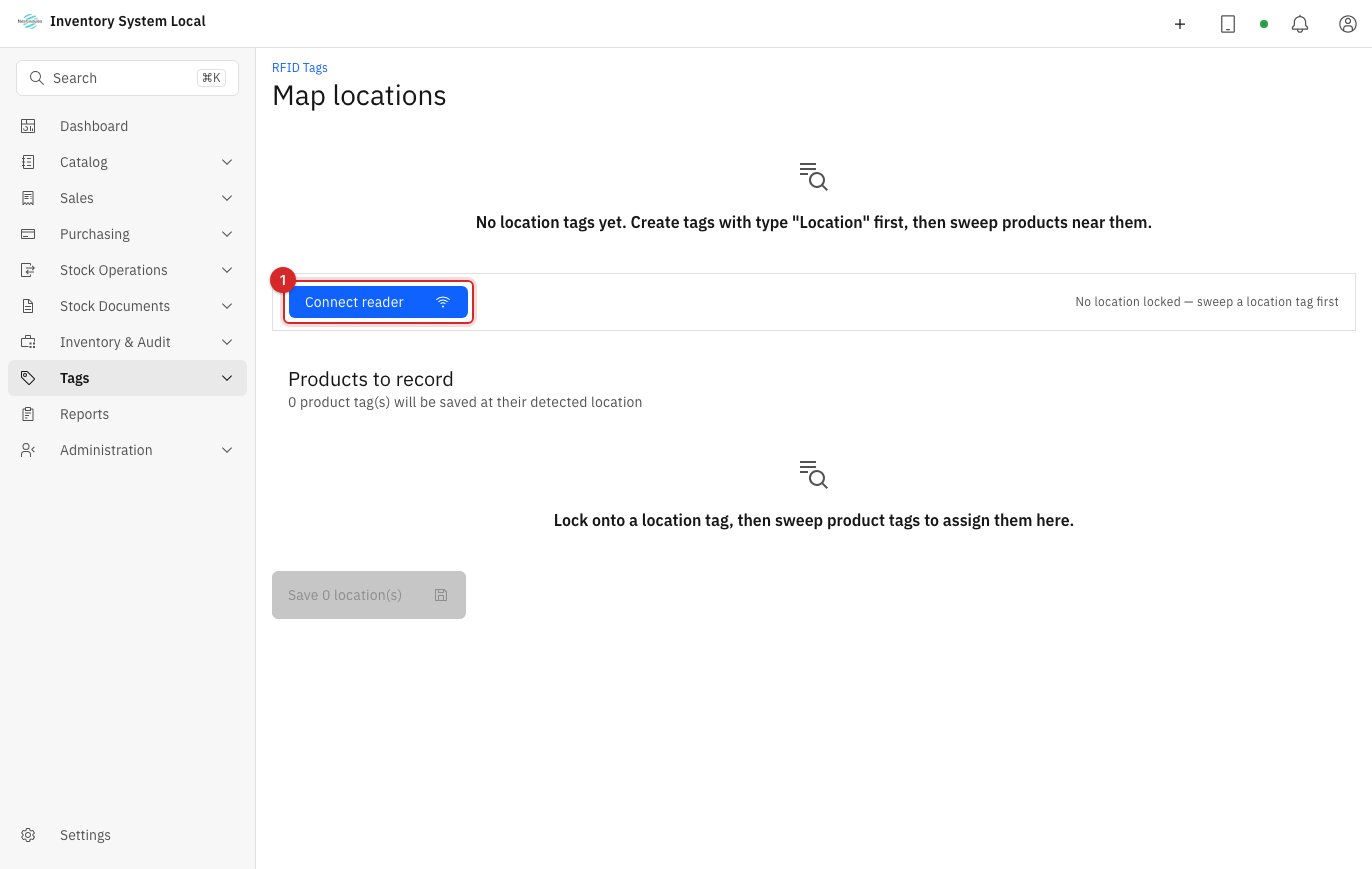
Scan the bin's location tag to lock onto that location. Until a location tag is scanned, the screen reports no location, which is by design, not a fault.
Scan the product tags sitting in that bin, then save. Scanning a tag later at a different location moves it there, replacing the old link rather than keeping two.
Locations mapped here appear on pick lists, sending the picker straight to the right shelf, see Pick, check, and ship.
Remove tags
Removal is the bookkeeping step after goods have already left the warehouse, not a way to issue stock: a tag on an item still in stock cannot be removed.
Go to Tags → Scan to Remove. Scan with a reader or type EPCs by hand.
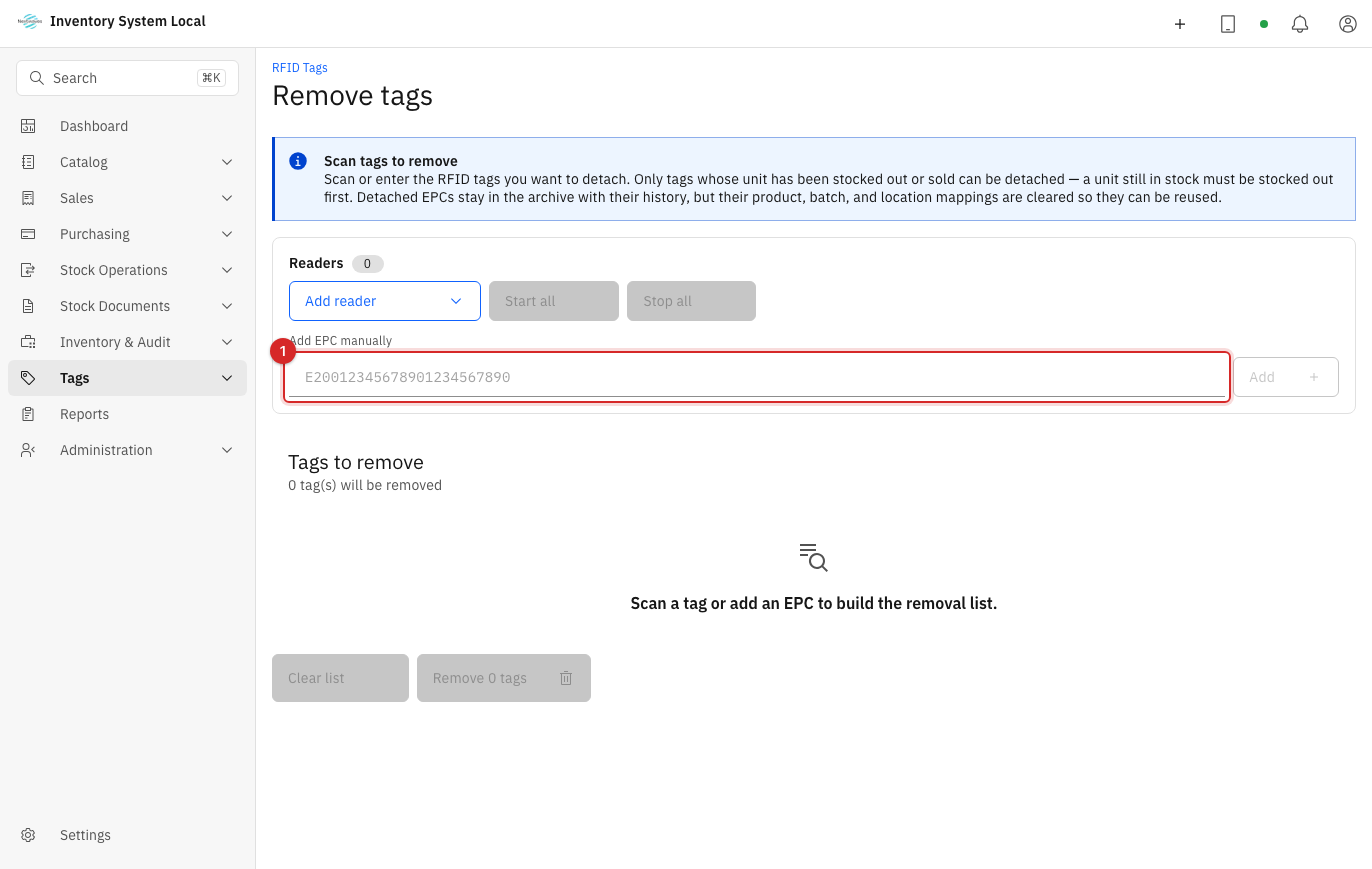
Review the removal list, then confirm. A removed EPC stays in the system with its full history; only the product, batch, and location links are cleared so the physical tag can be reused.
Removed tags are searchable under Tags → Removed Tags. Before reusing an EPC, read its history; do not stick it on new goods blindly.
Counting with RFID
Where RFID pays back its investment most clearly is counting: instead of tallying shelf by shelf, you walk the warehouse with a reader and the system compares scanned tags against recorded stock by itself. The full procedure, including how differences are handled, lives in Count and reconcile inventory.
When something goes wrong
| Symptom | Likely cause | What to do |
|---|---|---|
| Tags missing from reads | Tags blocked, goods packed too densely | Reorient products, reduce how much sits in the zone per pass |
| Extra unknown tags in reads | The zone reaches the next shelf or pallet | Lower power or separate the scanning area |
| No scans arrive at all | MQTT broker connection lost | Check the broker and device configuration, see Settings and integrations |
| An EPC returns a different product | The tag was attached to other goods before | Stop the operation, open Tag Inspect, and read the history before fixing the link |
| A scan shows an unidentified tag | EPC unregistered, or registered but never attached | Register it or receive the item properly through its lifecycle |
| A tag will not remove | The item still has stock in the warehouse | Issue or sell it first, then remove |
| Location mapping reports no location tags | No Location type tags created yet | Create them in Tag List and fix them to the bins |
Read next
- Count and reconcile inventory: put the reader to its most valuable use.
- Purchase and receive: where EPCs get attached to products.
- Settings and integrations: declaring readers and the MQTT broker.
- RFID integration reference: documentation for teams wiring readers themselves.