

Pick, check, and ship orders
A counter sale changes hands on the spot, so it never touches this page. But an order placed online, or reserved for store pickup, means the right items in the right quantities must leave the shelf before they leave the warehouse. Three linked stages handle that: picking pulls the items off the shelves, checking verifies the parcel before it is sealed, and shipping creates the document and hands the parcel to the carrier. A small store has one person do all three; a bigger warehouse separates picker and checker so one person's mistake gets caught by the other.
The most common question, answered up front: stock does not drop at picking, does not drop at checking, and only drops when the goods issue note in the shipping stage is confirmed.
An order's path
Three documents, three different jobs; keep them apart:
| Document | Job | Touches stock |
|---|---|---|
| Pick list | The list of items to fetch, handed to the picker | No |
| The Verify Order screen | The checking bench: scan each item in the parcel against the order | No, and it saves nothing |
| Goods issue note | The official shipping document | Deducts stock when confirmed |
Naming note: Stock Documents → Goods Issue Notes here is the per-order shipping document, distinct from Stock Operations → Stock Out used for damaged goods or supplier returns, see Issue, transfer, and adjust. Two screens, two operations, unfortunately similar names.
Which orders can produce a pick list
The system only accepts orders meeting all three conditions:
- The order is assigned to a warehouse.
- The delivery method is shipping or store pickup. Kiosk orders change hands immediately, so they skip this flow.
- The order status is Paid or Processing.
Orders synced from a marketplace are also accepted at Done, because marketplaces mark orders complete the moment the customer pays, while the goods are still sitting in your warehouse, see Process channel orders. A completed POS or web order is genuinely finished and can no longer be picked.
Picking
Go to Stock Documents → Pick Lists. The tabs filter by status: all, Draft, Open, Completed, Cancelled.
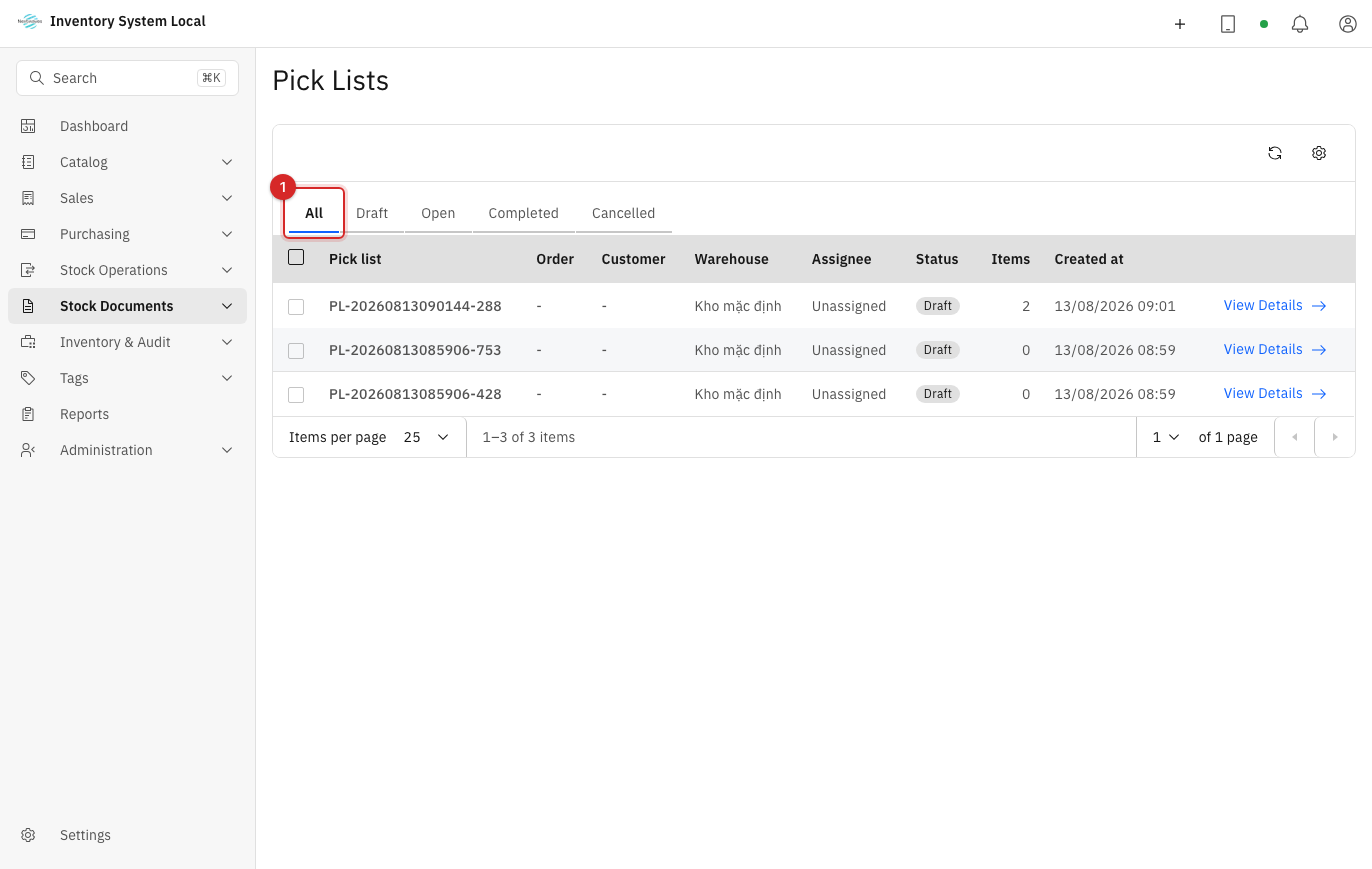
Glance at the product column before handing a list to a picker: a list showing
0was created from an order with no lines, and the source order needs checking first.Open the list with View details and compare warehouse, products, variants, and quantities against the source order.
Fetch goods following the location column on each line. Locations only appear when the item's tag was mapped to a location beforehand, see Manage RFID; unmapped items leave the column empty and you search from memory.
Record the quantities actually picked. Items that are short, damaged, or misplaced get noted separately; never silently skip a line, because the checker downstream needs to know.
Checking
This stage is the safety net that catches mistakes before the parcel leaves, on its own screen:
Go to Stock Operations → Verify Order. Scan or type the Order number and press Find order.
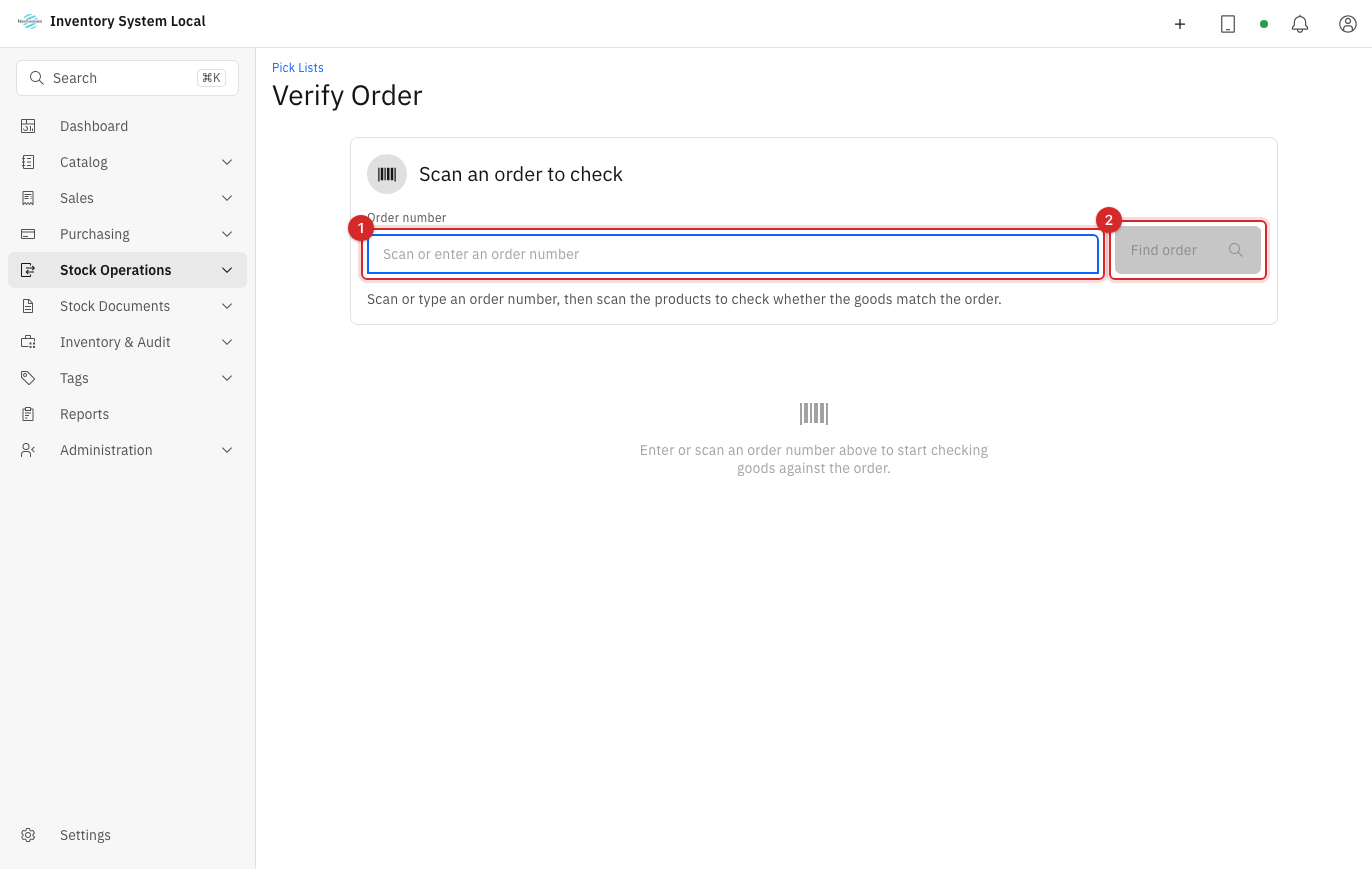
The cursor jumps into the Scan product box, so fire the scanner straight at each item in the parcel. The system resolves codes in order: barcode, SKU, then an exact product-name match.
Read the result per line:
Status Meaning What to do Not scanned Nothing scanned for this line yet Find the missing item in the parcel Matched Scanned count equals the order Nothing Short n n fewer than the order Add the goods and keep scanning Over n n more than the order Take the extras out of the parcel Also watch the box for products that belong to no line: any code that matches nothing falls there with a warning. That is another order's goods mixed into this parcel.
Seal the parcel only when the screen reports a full match: every line Matched and the stray-product box empty. One leftover stray code keeps the order unmatched even when all lines have their quantities.
The checking screen writes nothing to the system; scan results live only on the open screen, and reloading the page wipes them all, back to square one. Resolve every difference before leaving the screen.
Shipping
From a Completed pick list, press Create goods issue note. Create it from the pick list, not from the order: the pick list records what was actually picked, while the order records what was requested, and those two numbers differ every time something was short.
The note lives under Stock Documents → Goods Issue Notes. Open it and verify recipient, address, parcel count, and carrier; carriers are declared under Settings → Shipping carriers, see Settings and integrations.
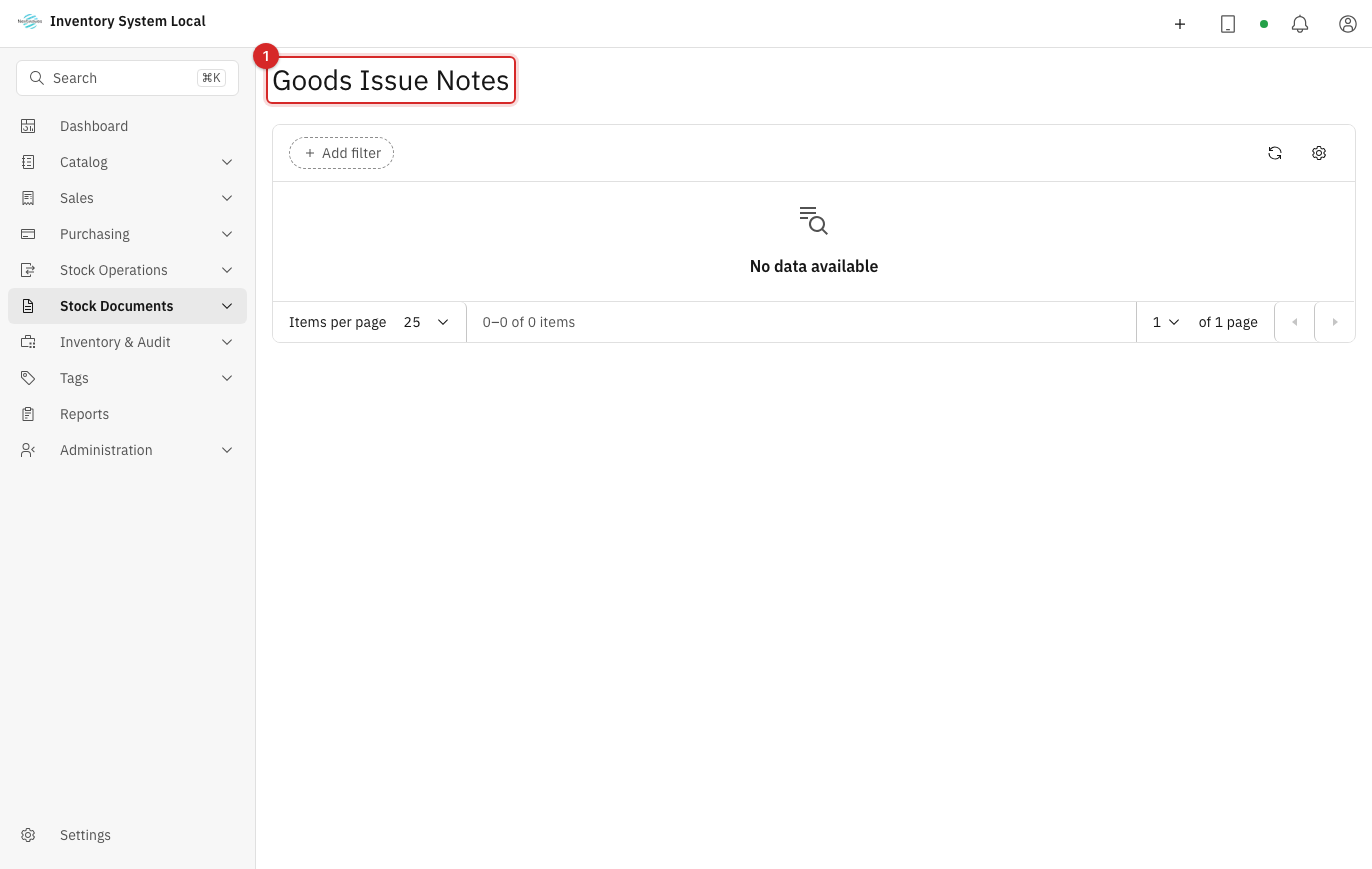
Confirm the note. This is the moment stock drops and the ledger records the goods leaving.
Print the note, hand the parcel to the driver with the printout, and update the status as the shipment progresses. For marketplace orders, that status is pushed back to the channel so the marketplace can notify the customer, see Process channel orders. If the shipment is off, cancel the note before it is confirmed.
When something goes wrong
| Symptom | Likely cause | What to do |
|---|---|---|
| Cannot create a pick list for an order | Missing warehouse, wrong delivery method, or wrong status | Check the three conditions at the top of this page on the source order |
A pick list shows 0 products | The source order has no lines | Inspect the order before handing out the list |
| Order not found at checking | Wrong number, or no pick list exists yet | Recheck the number; create the pick list first |
| Scans register on no line | The product has no barcode or SKU in the catalog | Add the codes, see Catalog and warehouses |
| A line shows Over despite a correct parcel | One item was scanned twice | Clear the scans and rescan the whole parcel |
| Parcel correct but still unmatched | A stray code remains in the not-in-order box | Remove the stray item from the parcel |
| Pick lists show no locations | Tags were never mapped to locations | Map them first, see Manage RFID |
If goods are short, stop packing and check stock, locations, and the pick list. If scanning turns up extra or wrong items, take them out and rescan. Never complete a document just to silence a warning: warnings can be silenced, a wrongly shipped order cannot.
Read next
- Process channel orders: the main source of orders for this flow.
- Issue, transfer, and adjust stock: how this differs from the Stock Out operation.
- Manage RFID: map locations so pick lists can show them.