

Sell, return, and use kiosk
This page is for cashiers and shift managers. Selling through the POS beats a notebook because one payment records four things at once: the order, the payment, the invoice, and the stock deduction. No end-of-day session of adding everything up by hand.
A day at the counter follows a fixed rhythm: open a session with the cash you actually counted in the drawer, sell through the day, handle returns as they come, then close the session and reconcile the cash. The sections below follow that rhythm.
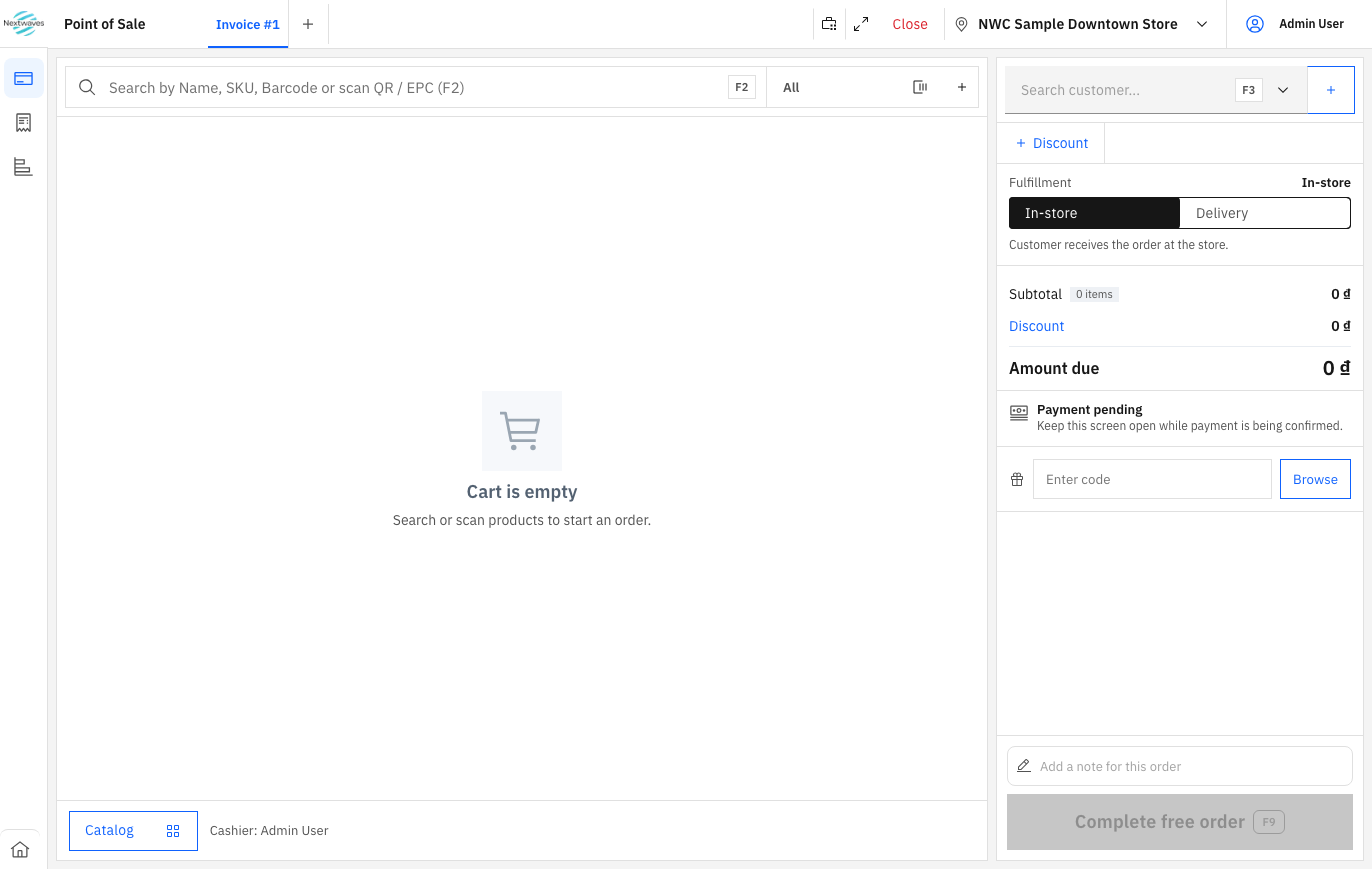
How a POS session works
A session belongs to one counter and starts from one opening cash amount. Each counter can have only one session open at a time, and the Open POS sessions and Close POS sessions permissions are granted separately, so a store can let cashiers open sessions while only managers close them. Every transaction of the day lands in the open session, which is what tells you how much cash the drawer must hold at closing time.
Sell an order at the counter
Open POS, pick your assigned counter, press Open POS Session, and enter the Opening cash amount. Count the real cash in the drawer first; this number is the anchor for reconciliation at closing.
Add items to the cart: scan a barcode, read an RFID tag, or type into the search box. It accepts product names, SKUs, barcodes, and EPC codes;
F2jumps the cursor there from anywhere on the screen.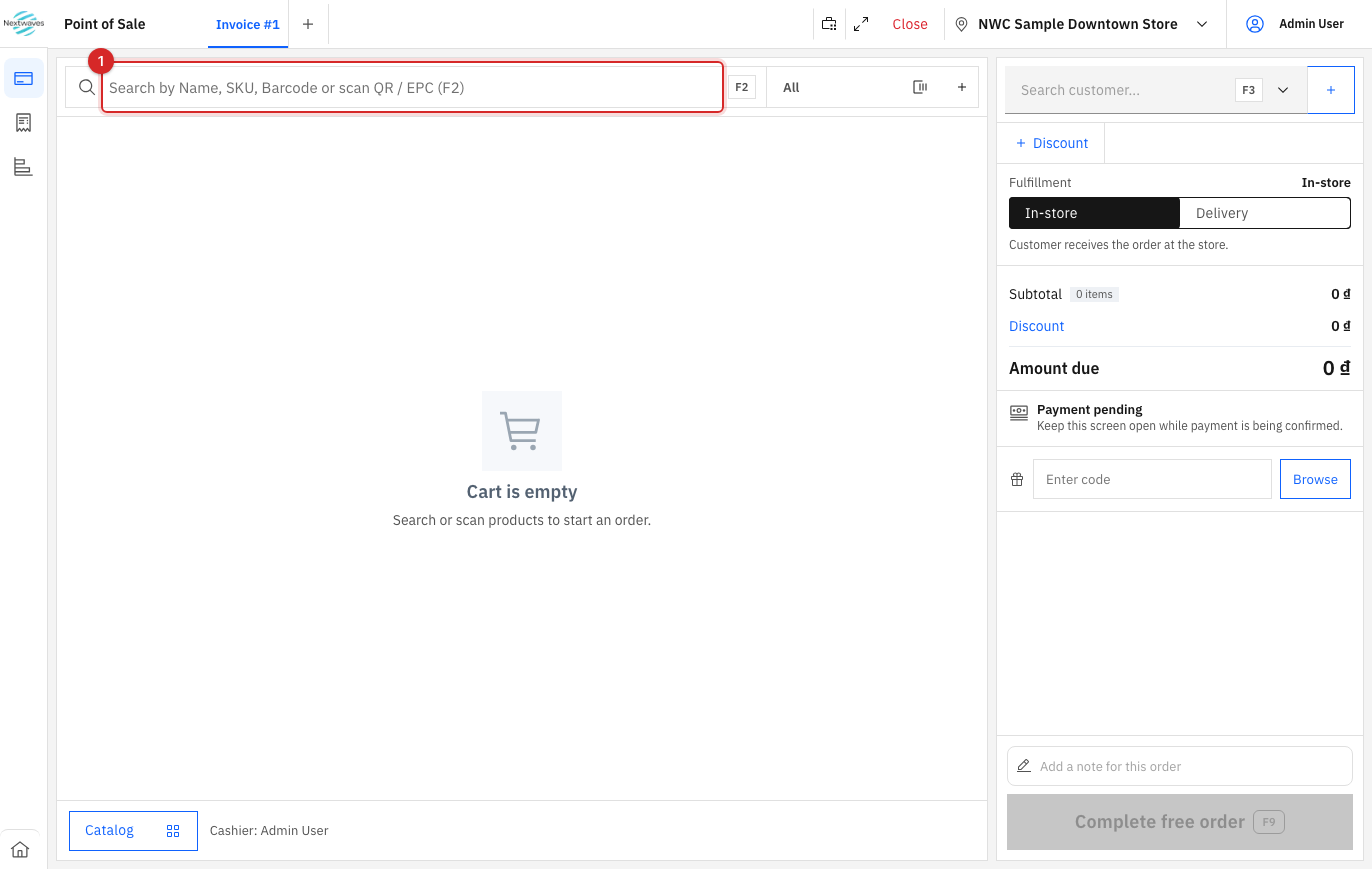
Check the cart before taking money: right variant, right quantity, right price. If the customer pays later or collects loyalty points, attach the Customer to the order at this step.
Apply a voucher if there is one, then press Checkout and pick the payment method. A pay-later sale needs a customer on the order, and the amount flows straight into the debt ledger. When the screen says payment is pending, stay on it until there is a result: closing the screen does not cancel the order, it leaves an unpaid order in Order History that someone has to clean up later.
Print or send the invoice. Invoice templates live under Settings → Printing, see Settings and integrations.
Returns and refunds
The most important rule: money and goods must move together, in one action. Refund without restocking and the books lose an item that is sitting right there on the counter; restock without refunding and the customer has received nothing. The refund dialog does both in one pass, so never split them.
- Open the original order in Order History and press Refund.
- In the Refund order dialog, select the items and quantities coming back. For RFID goods, confirm the exact EPC of the item the customer returned.
- Fill in the Reason: every later investigation of unusual refunds starts from this line.
- Turn on Restock items so the goods return to stock, and pick the receiving warehouse; batch-tracked products also need the original batch selected.
- Choose how the money goes back: Refund to original tender or another method, then confirm with Refund.
If the returned item is damaged and cannot be resold, still restock it so the money side closes cleanly, then issue it out with a damage reason, see Issue, transfer, and adjust. Do not skip the restock to "save a step": the stock ledger will drift from reality.
Close the session and reconcile cash
- Finish or cancel every open cart; never leave carts hanging overnight.
- Press Close POS Session. The system moves to the cash counting step.
- Count the real cash in the drawer and enter the Actual Cash. The system compares it with the Expected Cash, computed from the opening amount plus the session's takings, and shows the Discrepancy.
- A small discrepancy gets a note and the session closes. A large one deserves a look at the session's refunds and cancellations before closing.
Session history and per-session discrepancies live in the Cash & POS Sessions report, see Review reports. A manager should skim it at the end of each day.
Kiosk: the self-service counter
A kiosk is a screen where customers scan and pay by themselves, with no cashier attending. It shares the catalog, prices, tax, and stock with the POS, so there is no separate product setup: whatever the POS can sell, the kiosk can sell.
To put a kiosk into service: turn the module on under Settings → Features, register the device and its appearance in the Kiosk settings group, see Settings and integrations, and make sure the serving warehouse was created with the kiosk capability enabled, see Catalog and warehouses.
Before letting customers touch it, walk through every bad path yourself: empty cart, out-of-stock product, invalid voucher, failed payment, mid-transaction cancel, and an idle timeout. A kiosk has no cashier standing next to it to rescue the situation, so any path you did not test is a path a customer will find.
When something goes wrong
| Symptom | Likely cause | What to do |
|---|---|---|
| Cannot open a session | The counter still has an open session, or the account lacks Open POS sessions | Close the old session first, or request the permission, see Users and security |
| The POS has no warehouse to pick | The warehouse does not have the POS capability | Fix the warehouse configuration, see Catalog and warehouses |
| An order is stuck "awaiting payment" | The screen was closed mid-payment | Find the unpaid order in Order History, take the payment or cancel it |
| Refund is rejected | The order was never paid, or everything is already refunded | Check the order's payment status and refunded quantities |
| Cannot sell pay-later | No customer on the order, or the Customer debt module is off | Attach a customer; turn the module on, see Debt and consignment |
| Cash gap at closing | Refunds, cancellations, or unrecorded cash movements during the session | Review the session's refunds and cancellations in Cash & POS Sessions |
Read next
- Debt and consignment: where pay-later amounts live and how to collect them.
- Process channel orders: online orders follow a different path than counter sales.
- Review reports: revenue, sessions, and cash discrepancies.